


A standard bathroom remodel often runs six to eight weeks when permits, inspections, and ordering are done right. The flow is simple on paper. Prep and planning, demo, rough-in, inspections, close-up, finishes, and a clean punch list. The trick is timing. Order early, line up trades, pad for surprises, and you will hit the finish line without drama.
Why a clear timeline matters
A remodel is part puzzle, part relay race. Each step sets up the next. If a piece is late, the race stalls. With a week-by-week plan, you keep crews moving, protect your home, and protect your sanity. Stick to the order, and the bathroom turns from a dust zone to a spa you can use without stepping over buckets.
Week 0 prep you can do before demo
Think of Week 0 as stretching before the run. You are not swinging hammers yet. You are setting the stage so Week 1 starts fast.
- Decide scope. Full gut or cosmetic. New layout or keep the same.
- Measure the room. Length, width, ceiling height, door swing, window size.
- Pick all finish items. Tile, vanity, faucet, shower system, lighting, fan, mirror, paint.
- Order long lead items now. Custom shower glass, special tile, vanity, and stone tops can take weeks.
- Check permits. In California, most bathroom remodels with plumbing or electrical changes need permits.
- Clear a path. Cover floors to the bathroom. Plan where tools and materials will sit.
- Set up a backup bath. If you have one, great. If not, plan shower times at the gym or a friend’s place.
- Box up bathroom items. Keep daily needs in a small caddy.
What we usually see in California
- Permits and inspections can add a week or two in busy cities like San Francisco or San Jose.
- Water-saving fixtures are common. Make sure your shower and toilet meet local rules.
- Old homes may have lead paint or asbestos. Testing keeps everyone safe.
Week 1 planning, site protection, permit push
Your crew locks in the plan, protects the home, and kicks off permits if not done already.
- Final site walkthrough. Confirm layout, heights, swing of doors, and fan placement.
- Floor and dust protection from the front door to the bath.
- Permit submission if not already filed. Plan inspection windows early.
- Wall and floor photos if walls are open later. These help find studs or pipes.
Common bottlenecks in Week 1
- Permit delays. File early and respond fast to plan check notes.
- Backordered fixtures. Pick second choices before demo so you have a backup plan.
Week 2 demo day and haul away
Time to say goodbye to the old stuff. Like pulling a bandage, clean and quick is best.
- Shut off water and power as needed.
- Remove vanity, mirror, trim, toilet, tub or shower walls, floor, and drywall as needed.
- Cap supply lines and cover drains.
- Check framing, subfloor, and joists for rot or mold.
- Treat small mold spots and replace damaged wood.
- Haul debris and do a fast clean so trades start fresh.
Safety notes
- Old vinyl tile or popcorn ceilings can contain asbestos. Test before you cut.
- Homes built before 1978 may have lead paint. Use safe methods, not guesswork.
Week 3 rough-in plumbing, electrical, and ventilation
This week is the bones and brains of the bath. Mistakes here haunt you later, so slow is smooth and smooth is fast.
Plumbing rough-in
- Set shower valve height and depth. Check trim specs so the handle will sit flush later.
- Move drains or supply lines if layout changes.
- Install new tub or shower pan and test for leaks.
- Add shut-off valves where needed.
Electrical rough-in
- Add GFCI protected circuits.
- Place vanity lights at eye level if using sides, a bit higher if above mirror.
- Plan for dedicated circuits for heated floors or bidet seats if used.
Ventilation
- Size the fan to the room. Humidity is the enemy, especially near the coast.
- Vent to the exterior, not the attic.
Week 4 inspections and close-up
This week is check and cover. Patience pays here.
- Rough plumbing inspection.
- Rough electrical inspection.
- Framing inspection if walls moved or new openings added.
- Fix punch items from inspectors fast.
- Insulate outer walls if needed.
- Install backer board in wet areas. Use waterproofing rated systems in the shower.
Common bottlenecks in Week 4
- Waiting on inspection windows. Keep the schedule loose this week.
- Missed details, like nail plates over pipes. Catch and fix same day.
Week 5 waterproofing, tile, and floors
Time to make it pretty and water tight. Tile work is like a good puzzle. Pieces must fit tight and straight.
Waterproofing
- Apply waterproof membrane on shower walls and niche areas.
- Seal seams and corners with the right tape.
- Flood test pans when required.
Tile work
- Set shower walls first from the second row, then cut the bottom row to fit.
- Keep grout lines even. Use spacers and check with a level.
- Install shower floor tile with the proper slope to the drain.
- Grout with the right type. Let it cure without heavy moisture.
Flooring
- Install tile, LVP, or other approved flooring. Keep transitions clean at the door.
- If heated floors are part of the plan, test the mat before tile goes down and after.
Weather tie-ins
- High humidity slows thinset and grout cure times. Rainy weeks may add a day or two.
- Hot days can dry thinset too fast. Crews should mix and spread in small areas so it does not skin over.
Week 6 vanity, cabinets, and countertops
Now the room starts to look like a bathroom again. You can see the finish line.
- Set vanity or cabinets. Shim level and anchor to studs.
- Place template for countertops if using stone or quartz.
- Install medicine cabinet or mirror blocking if recessed.
- Add trim, baseboards, and door hardware.
Bottlenecks this week
- Countertop lead times. Templating too late can delay the faucet and sink install.
- Wall out of plumb. Shimming takes time. Good prep fixes this.
Week 7 fixtures, glass, and hookups
Shiny parts arrive and water flows again. It feels like a pit crew swap.
- Install faucets, shower trim, and tub spouts.
- Set toilet with a new wax ring and secure bolts.
- Hook up sinks and traps. Check for leaks.
- Mount lights, fan covers, and GFCI outlets.
- Measure for shower glass if not already done. Custom panels often need a short wait.
- Install mirrors and accessories like towel bars and hooks.
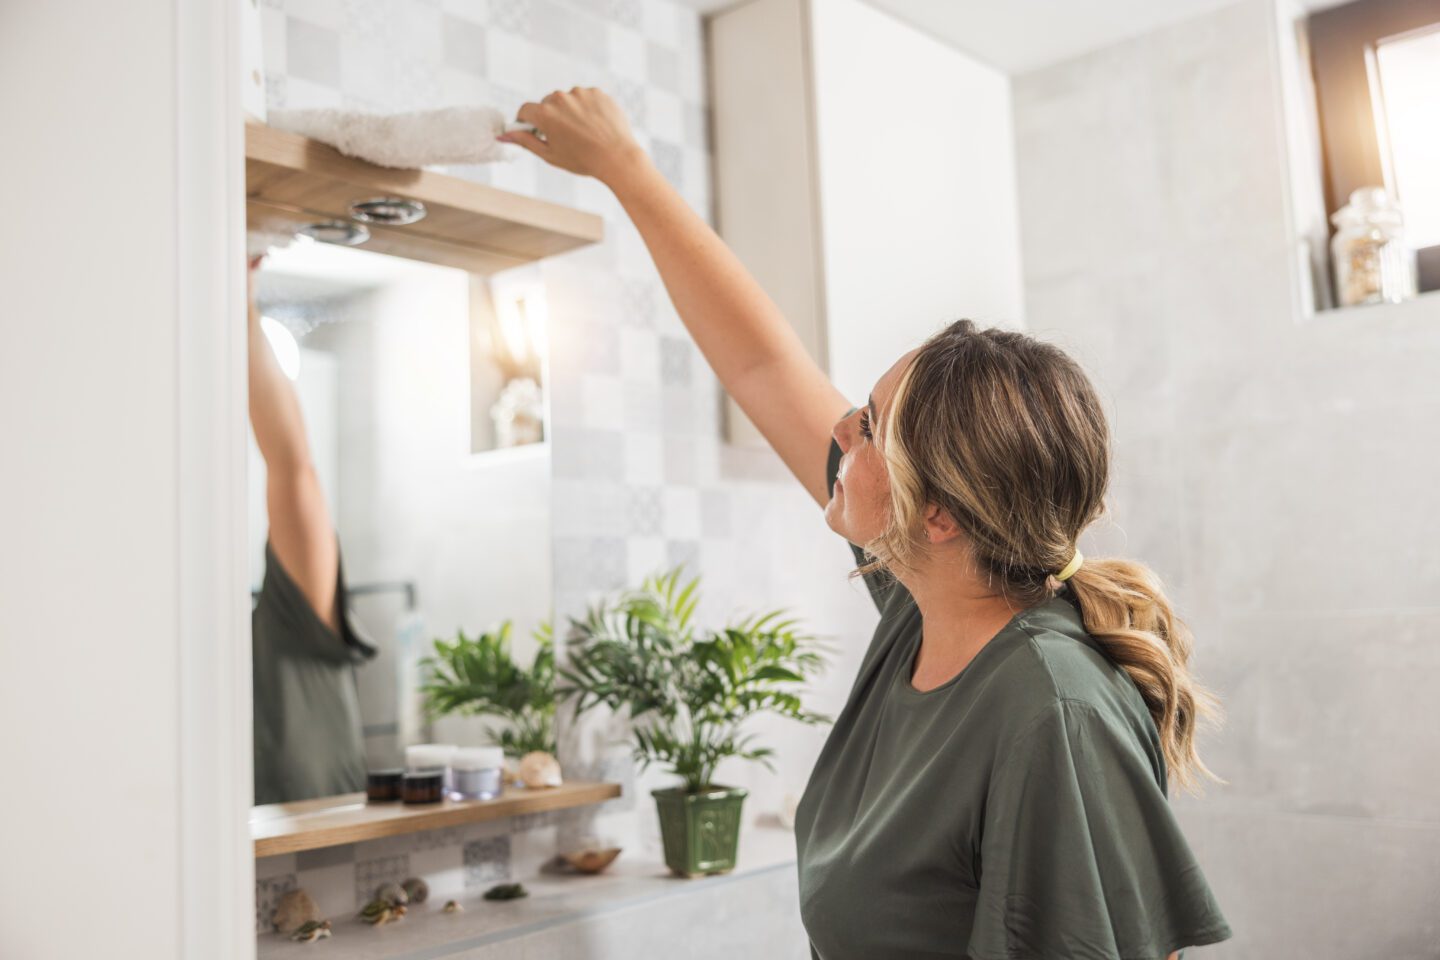
Week 8 paint, caulk, clean, and punch list
This week ties the bow. Good paint and clean lines make the room feel new.
- Prime and paint walls and ceiling. Bathrooms like satin or semi gloss for wipe downs.
- Caulk edges at tile, tub, and counters with mold resistant caulk.
- Final clean, then a white glove walk with blue tape for touch-ups.
- Fix nicked paint, grout haze, squeaky doors, or loose plates.
- Remove floor protection and haul tools.
Homeowner prep that speeds the job
Think of these as green lights for your crew.
- Pick every finish before demo. Tile, trim, fixtures, and paint.
- Approve layout drawings fast. Small delays here ripple forward.
- Clear the work zone each day. Crews move faster with open space.
- Keep pets and kids away from the area. Safe for all, faster for work.
- Be ready to make quick calls on small changes. Text works great for same day answers.
Common bottlenecks and how to dodge them
- Permit lag. File early and plan around city inspection days. In San Francisco, morning slots fill fast.
- Custom glass wait. Measure after tile, then expect a short wait. Order standard doors early if that fits your plan.
- Tile shortages. Order 10 to 15 percent extra at the start. Same dye lot keeps color even.
- Hidden damage. Old leaks can show up during demo. Build a 10 percent time cushion.
- Holiday weeks. Fewer inspection slots and staff. Plan start dates around known slow periods.
- Delivery windows on busy roads like Highway 101. Build delivery days into the plan and get tracking numbers.
What changes the timeline
- Moving plumbing stacks or walls adds time for framing and approvals.
- Specialty features like steam showers, heated floors, or smart fans need extra steps.
- Condo or HOA rules may limit work hours and elevator use.
Quick story that shows why order matters
A homeowner in the East Bay picked tile after demo. The tile was backordered. Crews finished rough-ins fast, but then had to wait. That one choice added eight days. Pick early, sleep easy.
Troubleshooting after install
- If a GFCI trips often, then check wet-rated fixtures and total load on the circuit.
- If grout cracks at a corner, then switch that joint to caulk made for movement.
- If the shower floor pools water, then adjust the drain grate or reset problem tiles.
- If the fan is loud, then check the duct run for crushed spots and confirm exterior flap moves.
- If the toilet rocks, then add shims and reset with a fresh wax ring.
- If you smell sewer gas, then run water in rarely used traps and check for a loose wax seal.
Common myths and facts
- Myth: Small baths do not need permits. Fact: Moving plumbing or wiring still needs them in most California cities.
- Myth: Drywall is fine inside a shower. Fact: Use tile backer with proper waterproofing.
- Myth: Any fan will do. Fact: You need a fan sized to the room with a vent to the outside.
- Myth: Custom glass installs the same day. Fact: It needs exact measurements after tile, then fabrication.
Care schedule for your new bathroom
Weekly
- Run the fan during and after showers for 20 minutes.
- Wipe glass and metal to stop spots and rust.
- Spot clean grout and corners.
Monthly
- Clean the fan cover and check airflow with a tissue test.
- Check caulk lines at tub, shower, and backsplash.
- Clean drains and traps to keep flow strong.
Yearly
- Reseal grout or stone if your products call for it.
- Test GFCI outlets.
- Inspect supply lines and shut-off valves for drips.
- Check for cracked caulk and reapply as needed.
Weather and your bathroom
- Coastal fog and humidity call for a strong fan. This keeps mold away and paint tight.
- Hot inland days can dry caulk and sealers too fast. Crews may work earlier in the day for better results.
- Rainy seasons slow drying for paint and thinset. Add a day if humidity is high.
What we usually see in California homes
- Many homes have 5 by 8 footprint baths. Timelines above fit this size well.
- Older homes can have odd framing or out-of-plumb walls. Crews shim and square as they go.
Smart ordering guide
- Plumbing trim and valves come as a matched set. Order both at the same time.
- Check rough-in specs for valves and niches before walls close.
- Keep all manuals and small parts in labeled bags. Tape them inside the vanity until final day.
- Inspect deliveries on drop day. Report missing boxes right away.
Your punch list cheat sheet
- Turn on every light and switch. Check dimmers.
- Run hot and cold at each fixture. Look under sinks for drips.
- Fill the tub or pan inches above the drain, then release and watch for leaks.
- Flush the toilet a few times. Check base and supply line.
- Open and close every door and drawer. Look for rubs.
- Check grout and caulk joints for gaps.
- Confirm fan vent is blowing outside.
- Walk the floor in socks. Listen for squeaks and feel for loose tiles.
How to live at home during the remodel
- Set a simple morning path to avoid the work zone.
- Use plastic bins for daily items. Grab and go.
- Expect noise during demo and cutting days.
- Plan quiet tasks at home during inspection wait windows.
What your contractor handles
- Permits and scheduling with the city.
- Trade scheduling, from demo to finish.
- Ordering rough-in parts, like valves and backer boards.
- Quality checks at each stage.
- Site protection and cleanup.
What you handle best
- Finish selections and fast approvals.
- Access to the home if you are not there.
- Clear yes or no on layout questions.
- Pets and kid safety plans.
Simple layout tips that save time
- Keep the toilet in the same spot when possible. Moving the waste line can add time.
- Center the vanity on the wall or window. Symmetry protects your sanity.
- Set the shower valve so you can reach it before you step under the water.
Permits and inspections in plain talk
Most cities want to see plumbing and electrical behind the walls before you close them. Plan a two to four day window for each round, since slots can be tight. Keep a printed copy of plans on site, and have the permit card handy. Crews fix small notes same day and call for a recheck fast.
Little things that make a big difference
- Add blocking in the walls now for future grab bars, even if you do not plan them today.
- Put outlets where you use them. Think toothbrush, shaver, and a night light.
- Pick a fan with a humidity sensor. It will run itself and keep the room fresh.
- Place a niche away from the direct water spray to cut soap scum.
A quick checklist you can print
- All finishes picked and ordered
- Permit filed and inspection plan set
- Backup bath plan ready
- Floor protection in place
- Demo complete and debris hauled
- Rough-ins installed and tested
- Inspections passed
- Waterproofing done and flood test passed
- Tile set and grouted
- Vanity and tops set
- Fixtures installed and tested
- Glass installed
- Paint and caulk complete
- Final clean and punch list complete
FAQs
Q: How long does a bathroom remodel take in California?
A: A standard 5 by 8 bath often takes six to eight weeks from start to finish. Larger jobs or layout changes can add time.
Q: Do I need a permit for a bathroom remodel?
A: If you change plumbing, electrical, or structure, you likely need permits. Your contractor can file and schedule inspections.
Q: Can I use the bathroom during the remodel?
A: Most of the time, no. Plan to use a second bath or set a temporary setup for part of the job if space allows.
Q: What causes most delays?
A: Permits, inspections, backordered materials, and hidden damage. Ordering early and fast approvals help keep the train on the tracks.
Q: What should I buy first?
A: Shower valve and trim set, tile, vanity, faucet, fan, and lighting. Long lead items should be ordered before demo.
Q: Is waterproofing really needed in the shower?
A: Yes. A membrane or waterproof backer keeps water out of walls and prevents mold and rot.
Q: What if we find mold or bad wood?
A: Stop, fix, and document. Replace damaged areas before moving on. This protects your new finishes.
Q: How loud and messy will it be?
A: Demo and cutting days are loud and dusty. Good crews seal doors, run fans, and clean daily to keep it under control.
Q: When is the right time to measure for shower glass?
A: After tile is set. The walls must be finished so the measurements are exact.
Ready to turn your plan into a real bathroom you enjoy every day? Dreamhome Remodeling & Builders handles the full process, from permits to punch list, with a clear schedule and steady updates that keep your project on track. Call <tel:+1>415-650-2586</tel:+1> or visit https://dream-home-remodeling.com to book your free consultation and get a week-by-week plan that fits your home.
